
This guide covers how to dispatch a route you've already planned. If you haven't created a route yet, start with How to Plan a Route first.
Step 1: Open your draft route
- Log in to SmartRoutes. You'll land on the calendar view automatically.
- Click on the date of the plan you want to dispatch.
- Click Open Plan to view the routes created for that day.
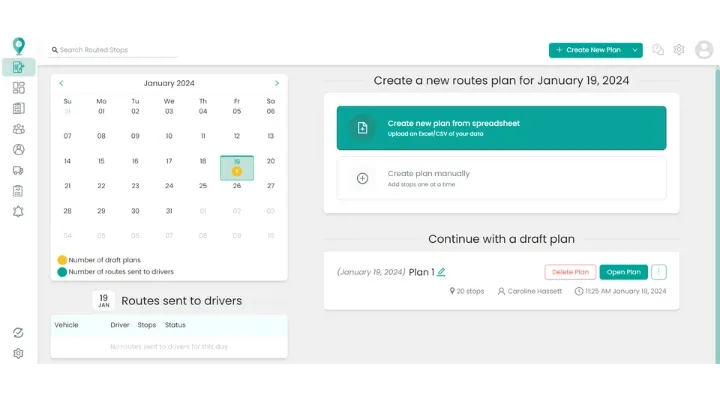
If you need to make any changes before sending the route out, do this now. See How to Edit a Draft Route for the full list of what can be adjusted at this stage, including stop details, driver and vehicle assignment, and re-optimizing after changes.
Step 2: Dispatch the route
- From the plan screen, select the route (or routes) you want to send.
- Click Dispatch.
- Confirm the dispatch when prompted.
Once dispatched, the route is sent directly to the assigned driver's mobile app, along with their full stop list and turn-by-turn navigation.
Step 3: Confirm the driver has received it
Drivers access their dispatched routes through the SmartRoutes mobile app. If a driver hasn't set up the app yet, they'll need to download it from the Apple App Store or Google Play and log in with the details provided by their admin. See Where do I log in as a driver? for the full walkthrough.
Once dispatched, you can track progress on the route in real time from your account, and the driver will see their stops update live as they complete deliveries.
Making changes after dispatch
If something changes after a route has already gone out, a cancelled stop, a new order, or a driver running behind, you don't need to redo the whole route. See How to Edit a Live (Dispatched) Route for reordering stops, inserting new ones, and pushing updates straight to the driver's app.
Didn’t answer your question?
You can see our other guides here or contact support at support@smartroutes.io.
Please provide us with some additional feedback
Thanks for your feedback. It is greatly appreciated